

React Elements
Deprecation Notice: The public react-pelcro-js package and its related documentation are no longer actively maintained. We recommend transitioning to our standard User Interface for a better, fully supported experience. If you have questions related to your current custom UI implementation, please contact [email protected].
react-pelcro-js integrates with our JS-SDK to make it easier for you to use all our features in your react application. Without ever having to worry about any of the inner workings or details. The elements are built based on our collective experience working with many clients around the world and they are designed to reduce user errors and optimize your conversions.
React Resources
HTML Buttons
Class names are used to identify buttons that will be used to trigger specific flows.
You can add those class names to multiple buttons on the same page, and they would all trigger the same flows. Find out more here
uiSettings
Pelcro.uiSettings
UiSettings configure properties that enable/disable some features.
Usage
Pelcro.uiSettings = {
    enableNameFieldsInRegister: false,
    requireNameFieldsInRegister: false,
    displayCloseButton: true,
    enableLegalConsent: true,
    legalConsentLinks: [
      { text: "Terms and Conditions", url: "https://example.com/terms" },
      { text: "Cookie Policy", url: "https://example.com/cookies" },
      { text: "Privacy Policy", url: "https://example.com/privacy" }
    ],
    skipPaymentForFreePlans: false,
    enableReactGA4: false,
    enableLoginWithUsername: true,
    newsletters: [
      { label: "News A", id: "newsletterA" },
      { label: "News B", id: "newsletterB" }
    ],
    membershipSubscriptionStatusAccess: ["active"]
  };
Properties
| Property | Description |
|---|---|
| enableNameFieldsInRegister | Enables the Firstname and Lastname fields in the Register modal if enableNameFieldsInRegister is set to true, disables if not. |
| skipPaymentForFreePlans | When a user subscribes to a plan, if skipPaymentForFreePlans is set to true and plan price is 0, then the user will not go through the Payment modal. |
| enableReactGA4 | Enables GA4 instead of regular GA for google analytics if enableReactGA4 is set to true, disables if not. |
| enableLoginWithUsername | Enables logging in by username and updating username in the UserUpdate modal if enableLoginWithUsername is set to true, disables if not. |
| newsletters | Enables you to determine which newsletters you allow your end-users to subscribe to. The newsletters you determine will be synced along into Pelcro and into your ESP of choice. They will also be displayed in the Newsletter Update modal. |
| membershipSubscriptionStatusAccess | Enables you to define which membership statuses that can view your gated content. If not set, it will default to these values ["active", "extended", "trialing", "past_due"] |
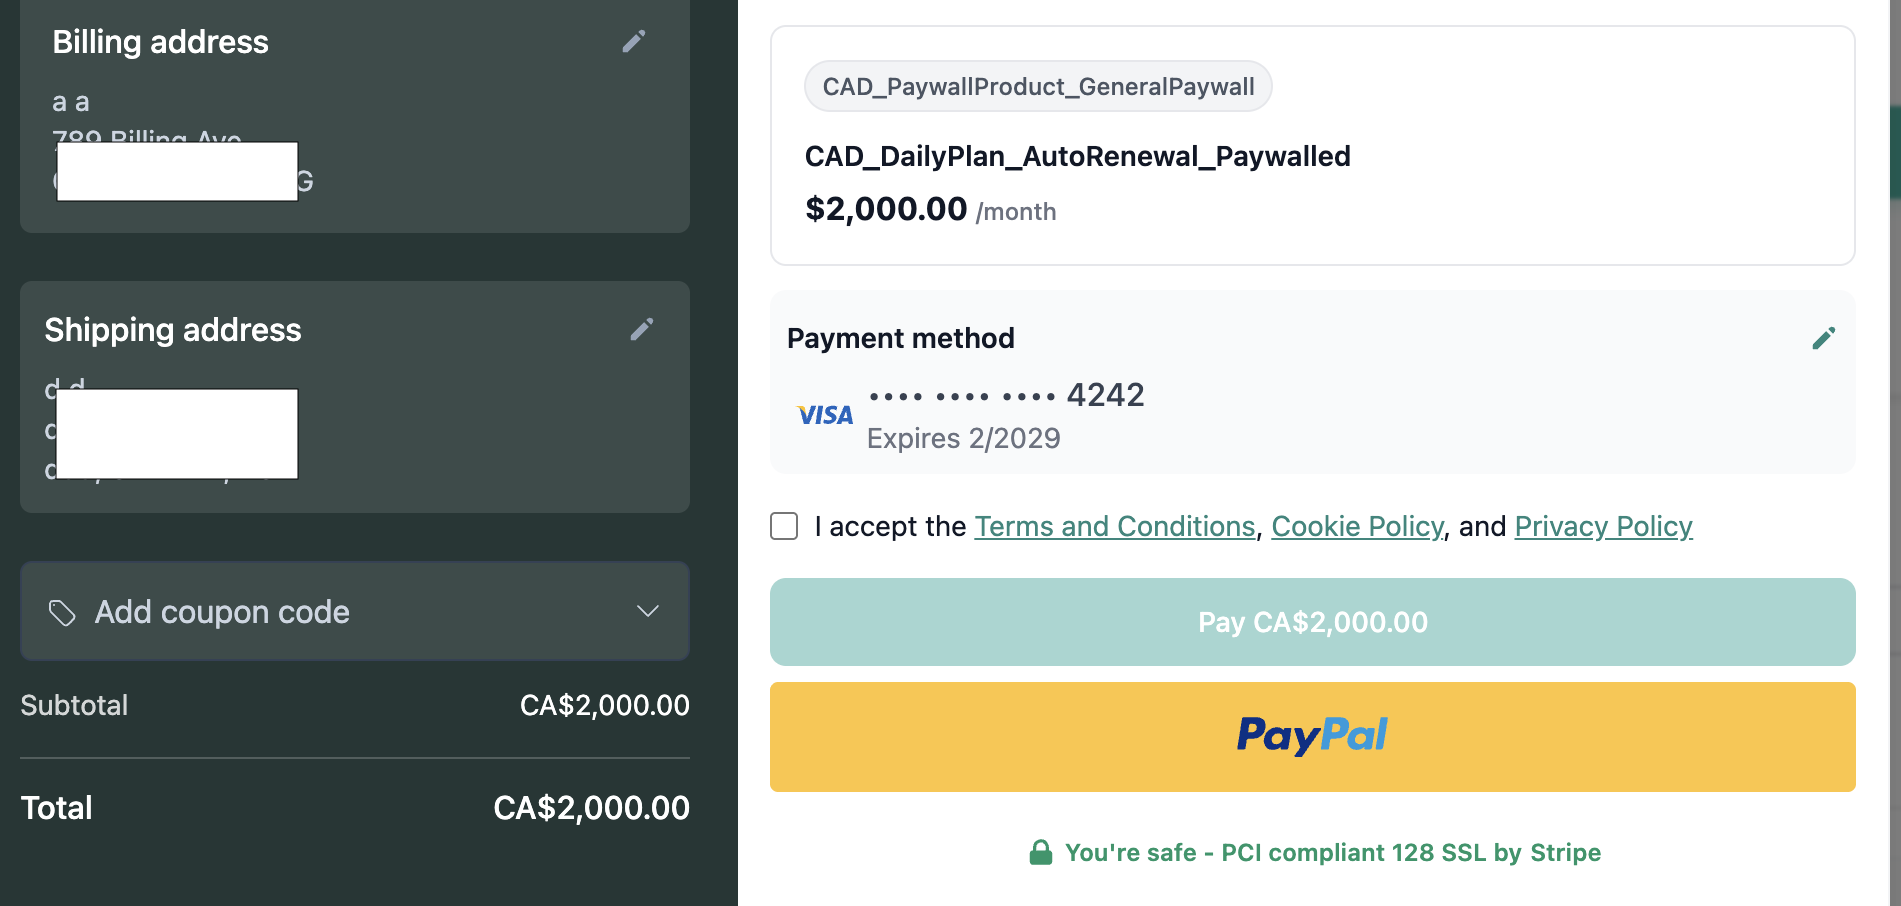
| enableLegalConsent | When set to true, displays a legal consent checkbox in all checkout modals (subscription, order, gift, and free plan flows). The submit button is disabled until the user checks the box. Has no effect when not set or set to false. Requires legalConsentLinks to be configured alongside it. |
| legalConsentLinks | An array of objects defining the legal policy links shown in the consent checkbox label. Each object requires a text (link label) and url (destination, opens in a new tab). |
| displayCloseButton | Controls whether the close (×) button is shown on paywall modals. When set to false, the close button is hidden on all paywall-flow modals (subscribe, login, payment, address, etc.). Dashboard modals always show the close button regardless of this setting. Defaults to true. |
Examples
Find below a screenshot of how a legal checkbox will look like:
FAQs
How do I log in?
Click the Log In button anywhere on the site. A login modal will open—just enter your email and password, then click Submit. Once you're logged in, the modal closes automatically.
How do I register?
Click the Sign Up (or Register) button. A registration modal will pop up—fill in your email, password then click Create Account. If everything’s valid, you’ll be logged in and the modal will close.
How can I add a new payment method?
- Go to your account dashboard (accessed via My Account button).
- Click payment methods and choose Add New Card.
- A form will appear—enter your card details and click Save Card.
The new card is saved and added to your account.
How do I update an existing payment method?
- Go to your account dashboard (accessed via My Account button).
- Under payment methods, locate the card you want to update and click on the edit icon.
- A modal will let you update the expiration date or set it as your default payment method.
- Click Save Changes to update the card.
How can I remove a payment method?
- In the payment methods section, locate the card you want to delete.
- Click on the delete icon in the payment method card.
Confirm the removal, and the card will be deleted from your account.
How do I reset my password?
- Click Forgot your Password? on the login modal.
- Enter your email and click Send Reset Link.
- Check your inbox for an email with a link—click it.
You’ll be taken to a password reset modal where you can choose a new password. Once submitted, your password is updated, and you can log in with the new password.
Updated about 2 months ago