

Setting Up

Our support team is right there for you!Contact us at [email protected] and we're happy to assist with any questions or concerns.
Category
Tutorial — Learn Pelcro by setting it up end-to-end for staging and production.
Overview
In this guide, you’ll configure Pelcro from account creation through site integration.
The same setup flow applies to both staging and production, with environment-specific differences clearly called out where relevant.
By the end of this guide, you will have:
- A configured Pelcro site
- Products, plans, customers, and subscriptions set up
- Pelcro installed and running on your website
Prerequisites
- Access to your website’s codebase
- A domain (staging or production)
How to set up your Pelcro account
Follow the steps below to set up Pelcro from account creation through site integration.
The same flow applies to both staging and production, with environment-specific differences called out where relevant.
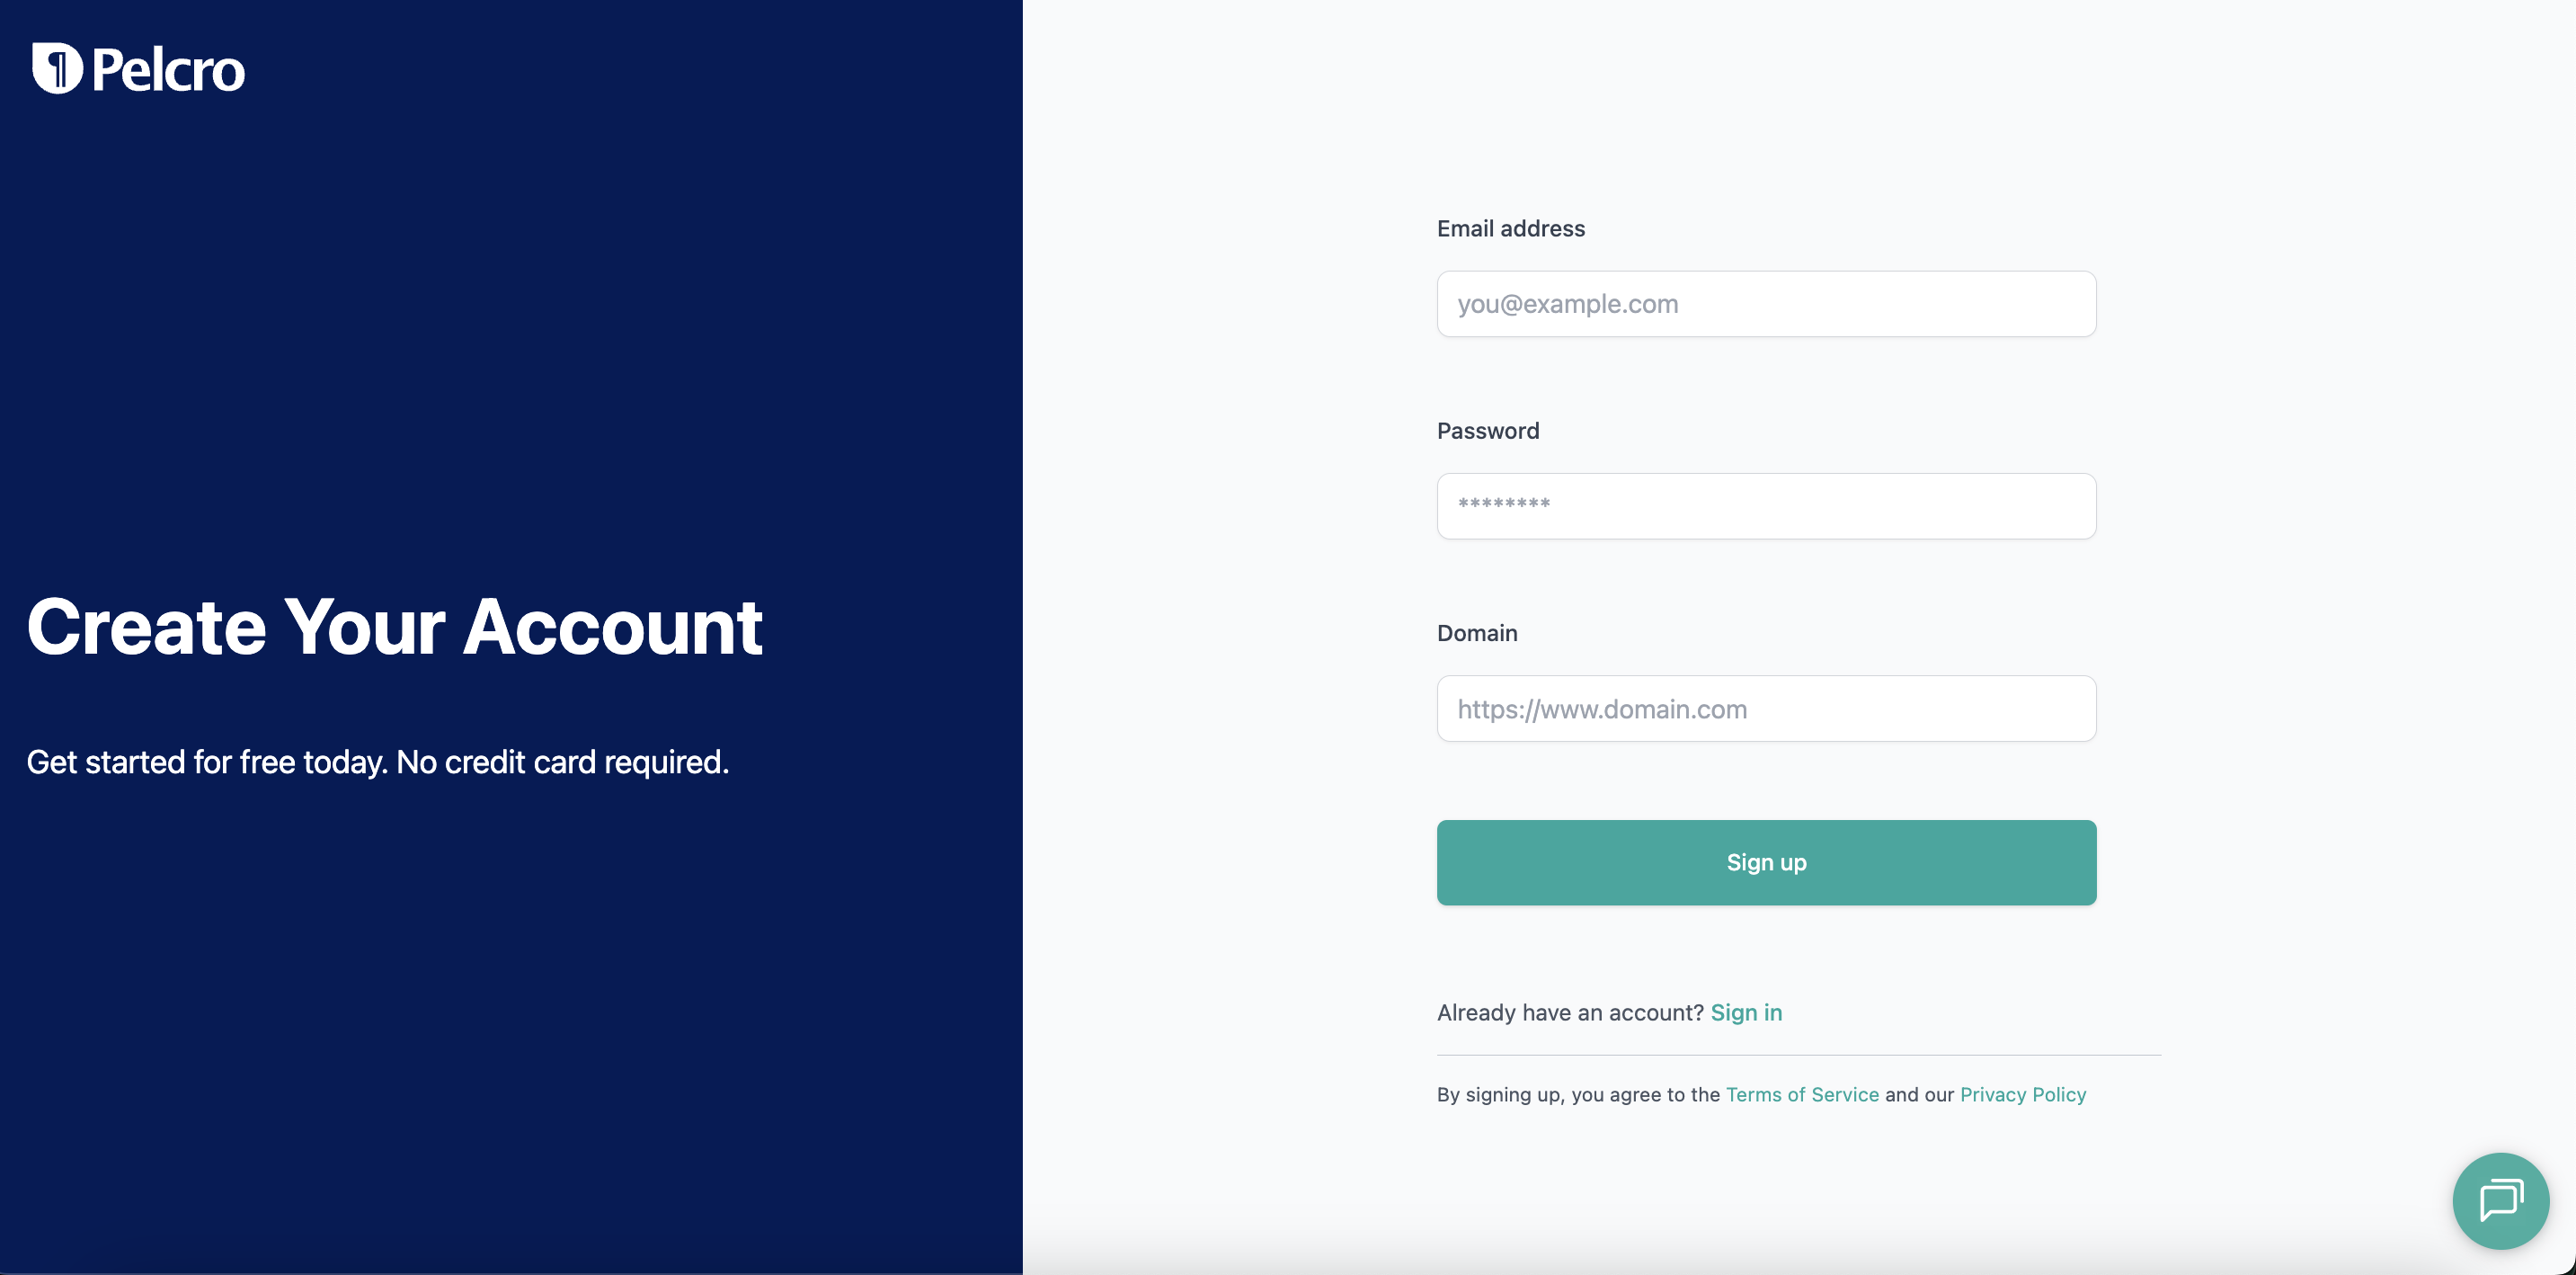
Step 1: Create Your Pelcro Account
Create a Pelcro account using the appropriate environment:
- Staging: https://staging.pelcro.com/
- Production: https://www.pelcro.com/
Click Don’t have an account?, complete the registration form, and you’ll be redirected to the admin dashboard.
Step 2: Configure the Payment Gateway
After registration, you’ll be prompted to configure a payment gateway.
Backend-Only Usage
If you are using Pelcro strictly as a backend system:
- Click Skip payment gateway
Frontend + Backend Usage
If you plan to use Pelcro’s frontend UI (checkout, customer portal, and hosted flows), connect a payment gateway.
- Click Connect next to your preferred payment gateway (e.g. Stripe or any other supported gateway)
- Complete the gateway connection flow
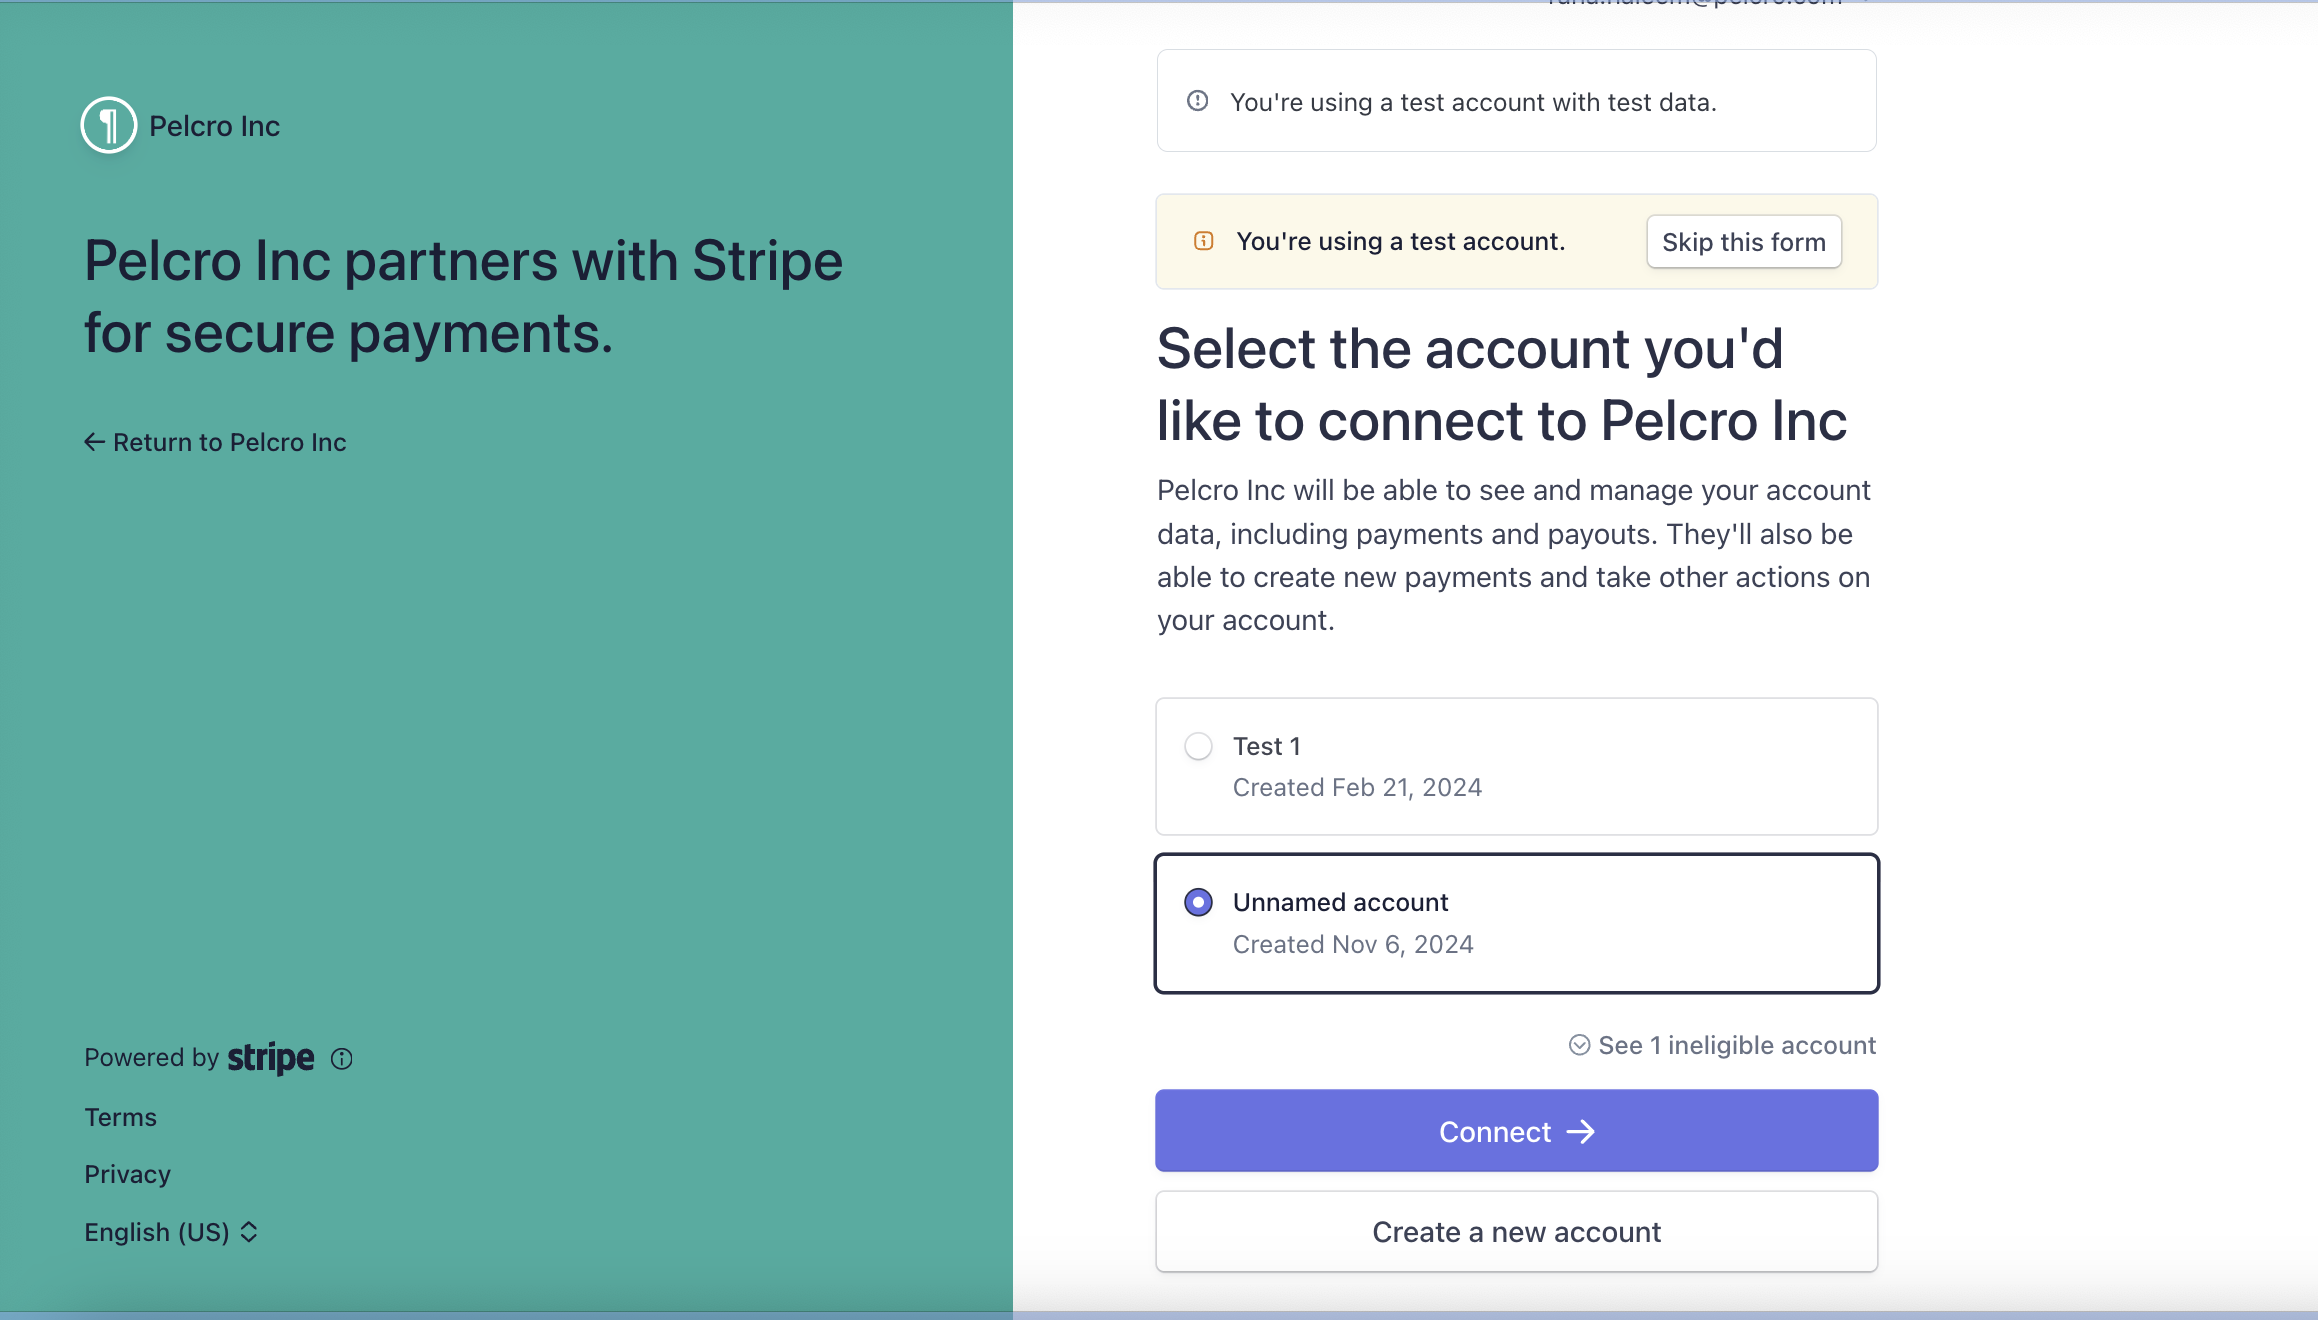
Environment notes
- In staging, click Connect Stripe to enable testing. You can then skip the Stripe form, which will automatically create a Pelcro-owned dummy Stripe account so you can proceed with the setup steps below.
Alternatively, if you already have a Stripe test account, you may connect it instead.- In production, you must connect a live payment gateway account to process real payments.
- If you connect Stripe in staging, you can test your checkout flows using Stripe test cards.
For more information, see:
👉 https://docs.pelcro.com/docs/stripe#testing-checkout-with-stripe-test-cards

Step 3: Configure Your Site
From the admin dashboard, navigate to Settings → Site and configure:
- Site logo
- Site name
- Fully qualified domain URL (e.g.
https://www.mysite.com) - Support email (used as the reply-to address for automated emails)
- Automated emails
These settings apply to both staging and production.


Step 4: Create Products and Plans
Before selling anything, you must create at least one product and one plan.
- Products define what you sell (subscriptions, memberships, services)
- Plans define how you sell them (price, interval, currency)
You must create a product before creating its plans, here is the order:
- Create a product
- Create an associated plan
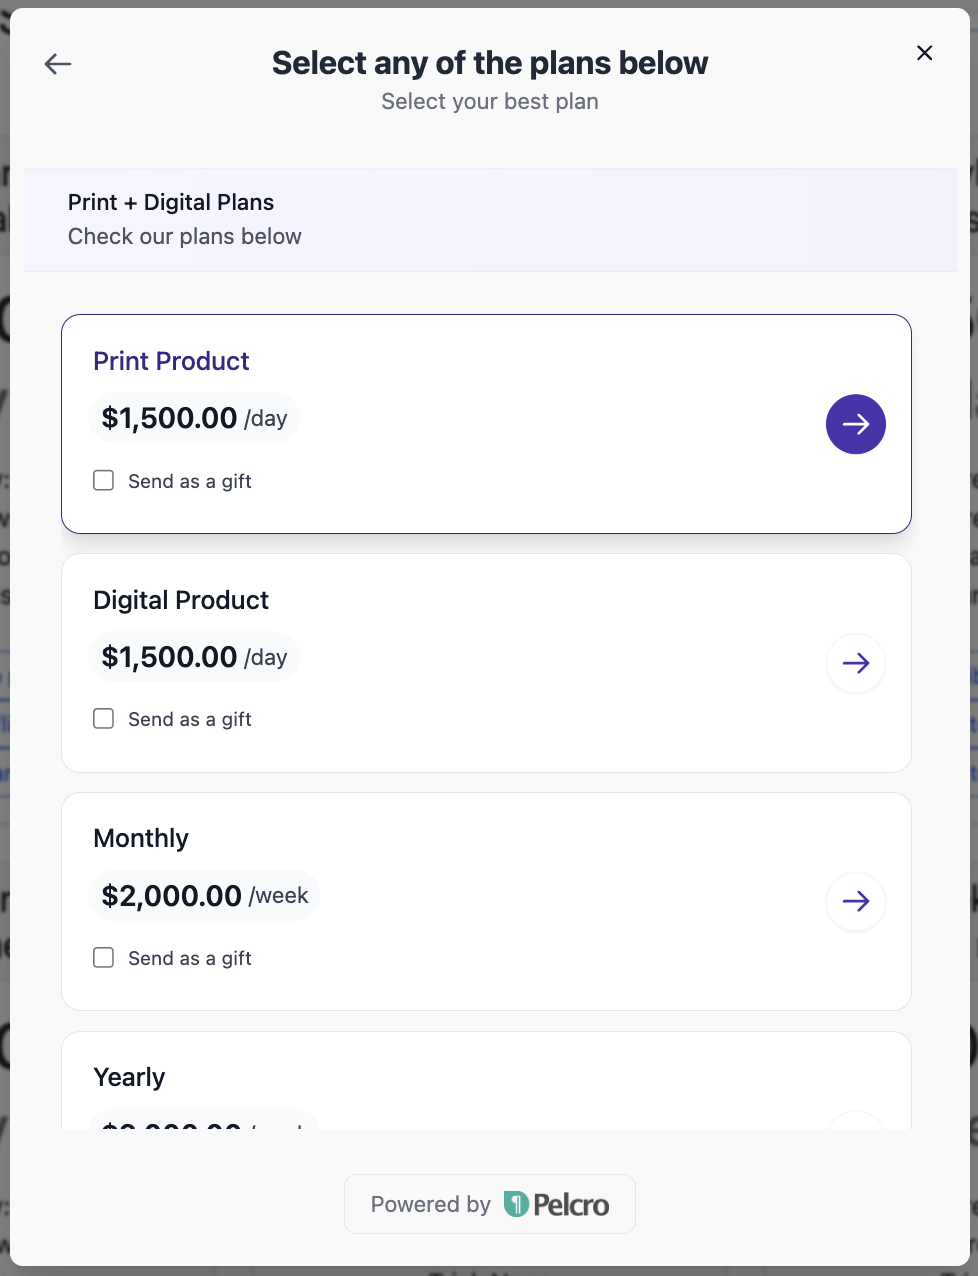
- Configure the product purchase flow

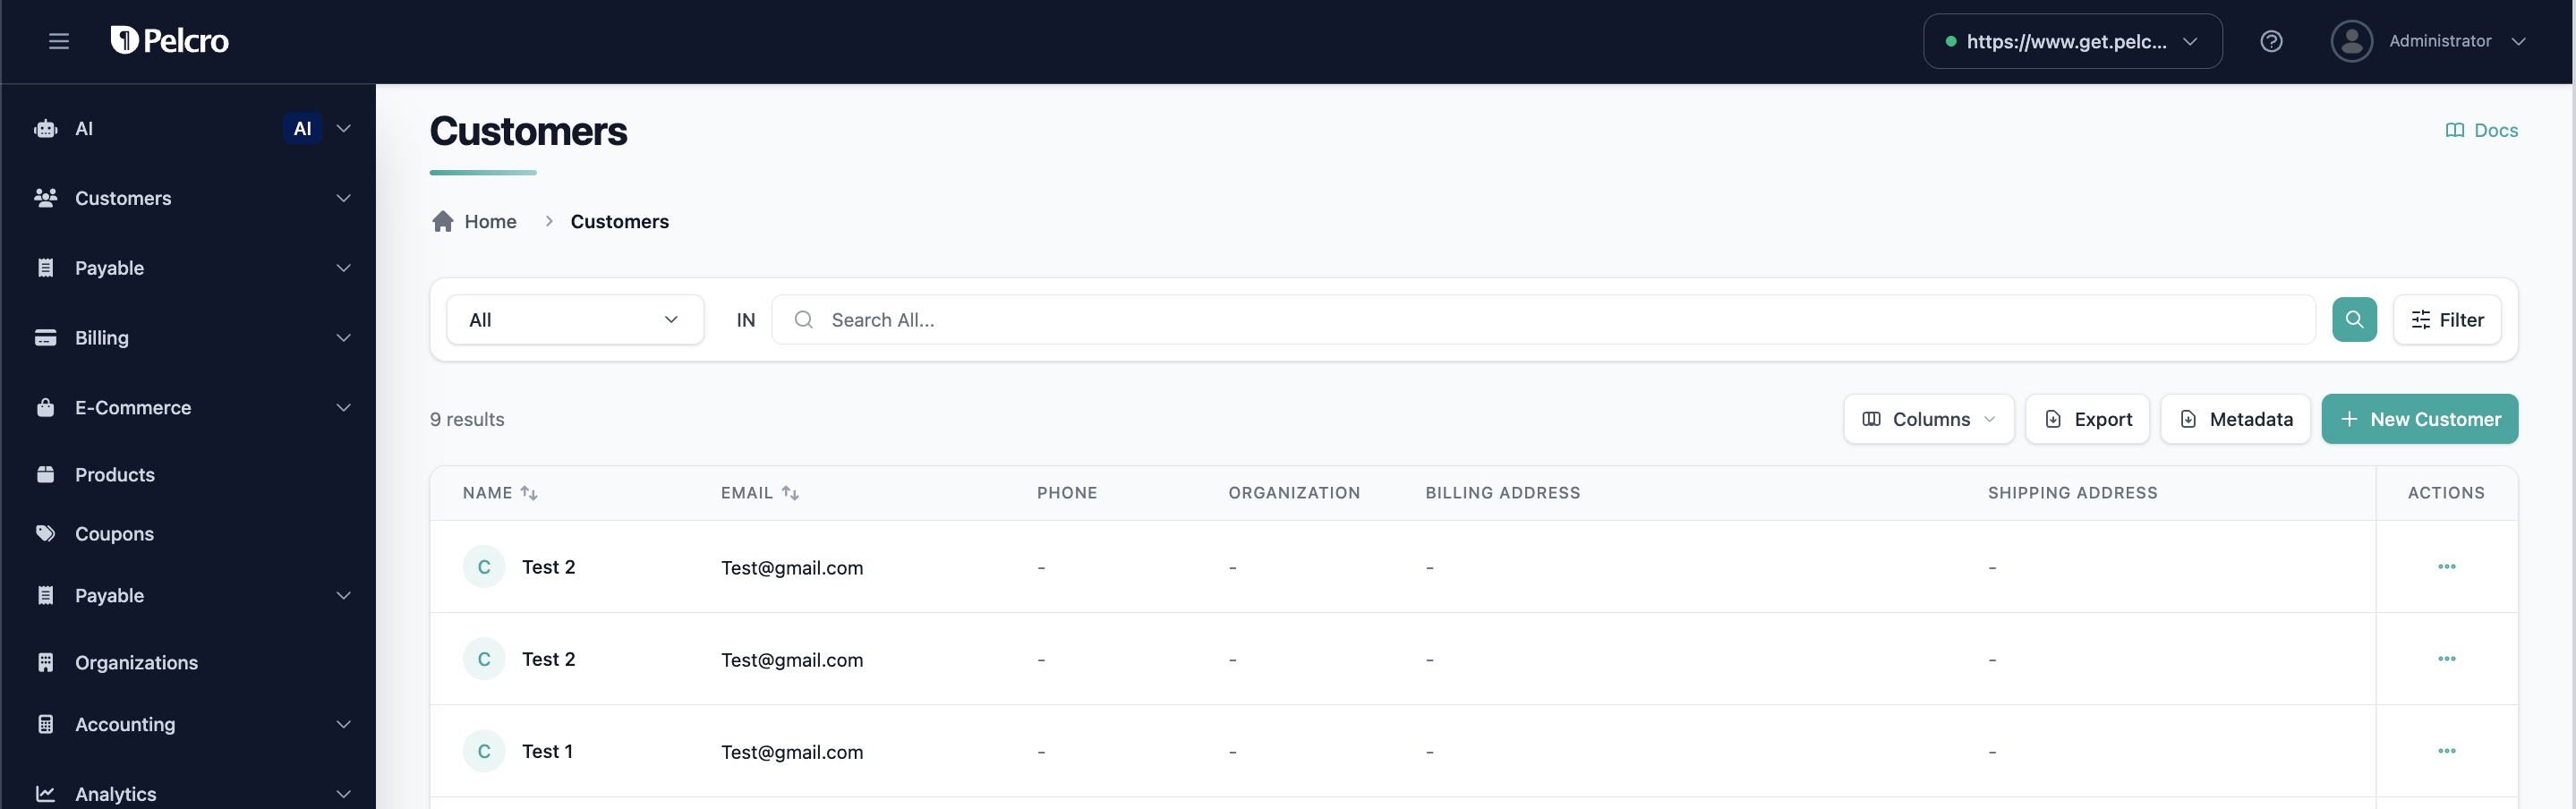
Step 5: Add Customers
Customers can be created in two ways:
- Manually from the Pelcro admin
- Automatically when users sign up through your website or app
Use this step to create test customers in staging or real customers in production.
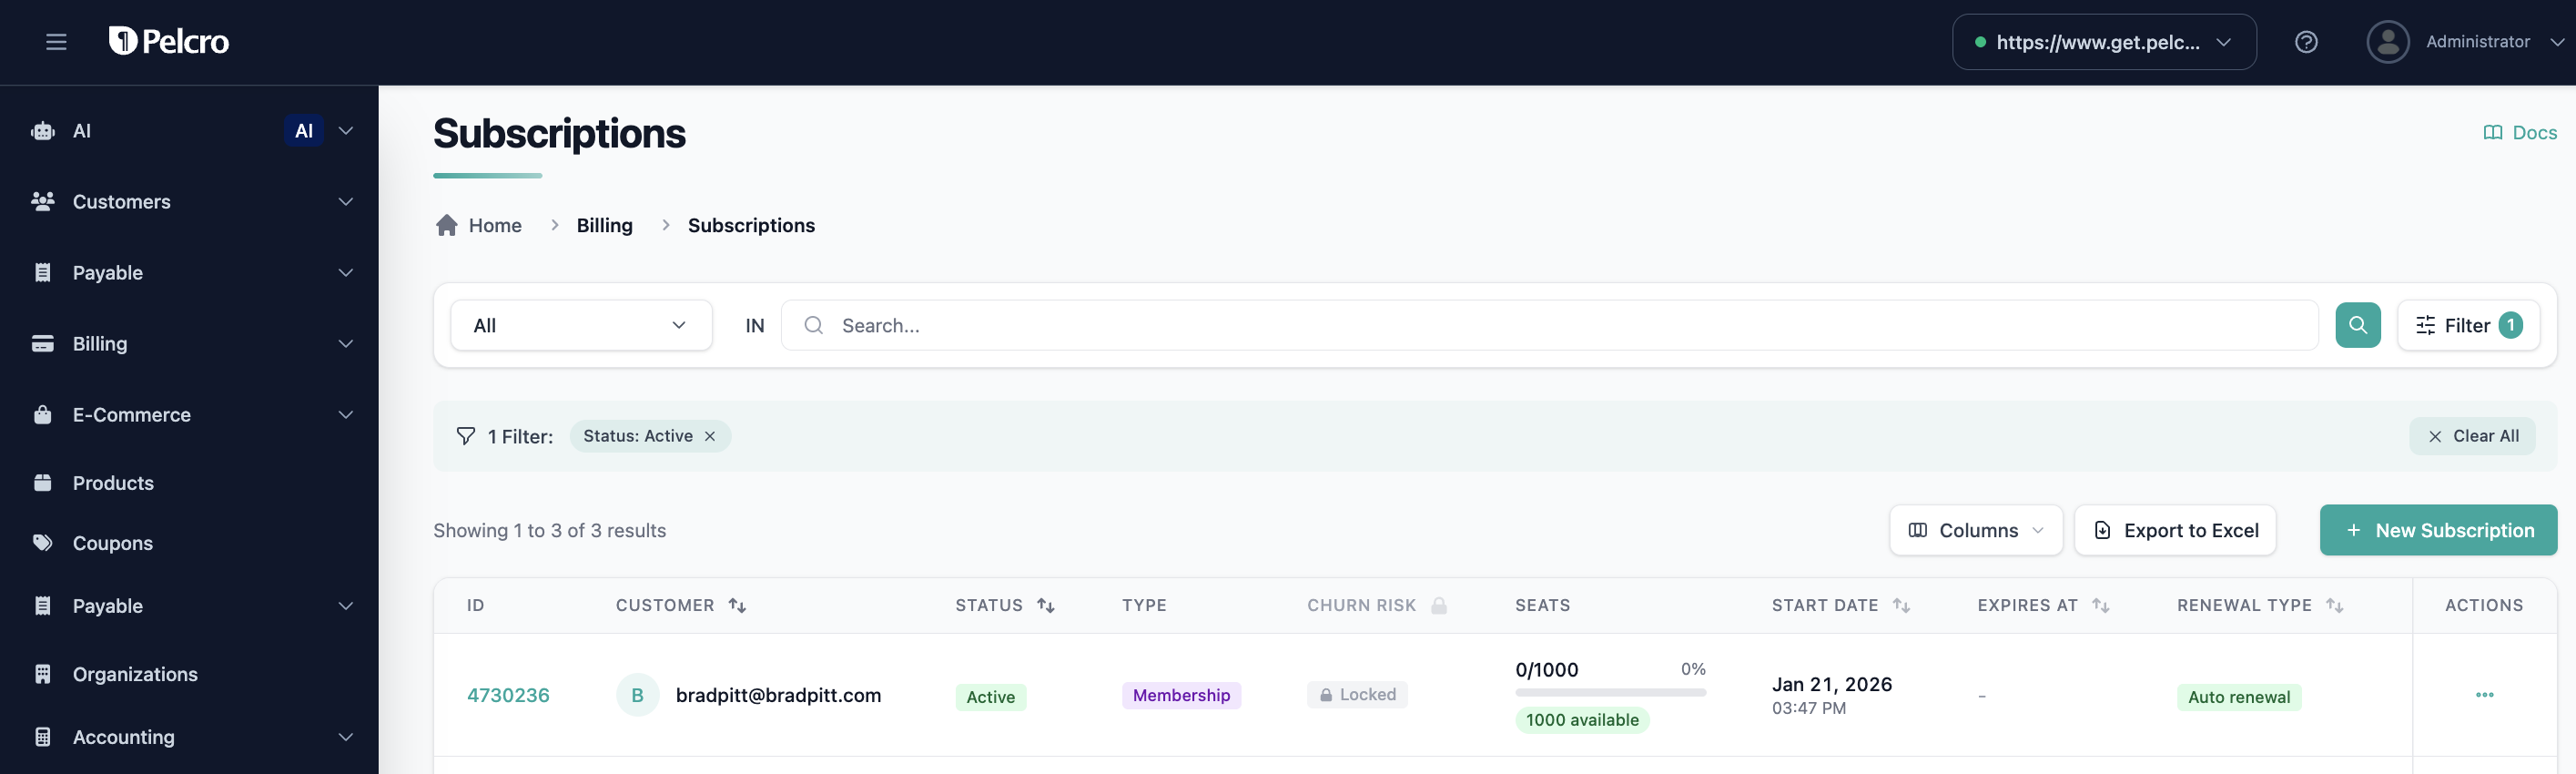
Step 6: Create Subscriptions
Subscriptions connect:
- A customer
- A plan
- A product
Creating a subscription grants the customer access to your content or services.
Step 7: Install the Pelcro Integration Script
To enable Pelcro on your site:
- Go to Settings → Integration
- Copy the provided integration script
- Paste it into your site’s HTML (typically before the closing
</head>tag)
Best practice
Install and validate the integration on your staging site first, then repeat the same steps on production.
Example: Pelcro Integration Script (Staging)
Below is an example of a Pelcro integration script configured for a staging environment:
<script>
  var Pelcro = window.Pelcro || (window.Pelcro = {});
  Pelcro.siteid = 1090;
  Pelcro.environment = {};
  Pelcro.environment.stripe = "pk_test_aThAAdvPHgIdAziZweywBWNk";
  Pelcro.environment.domain = "https://staging.pelcro.com";
  Pelcro.environment.ui = "https://ui.pelcro.com/staging/bundle.js";
</script>
<script src="//js.pelcro.com/sdk/staging/main.min.js" type="text/javascript"></script>

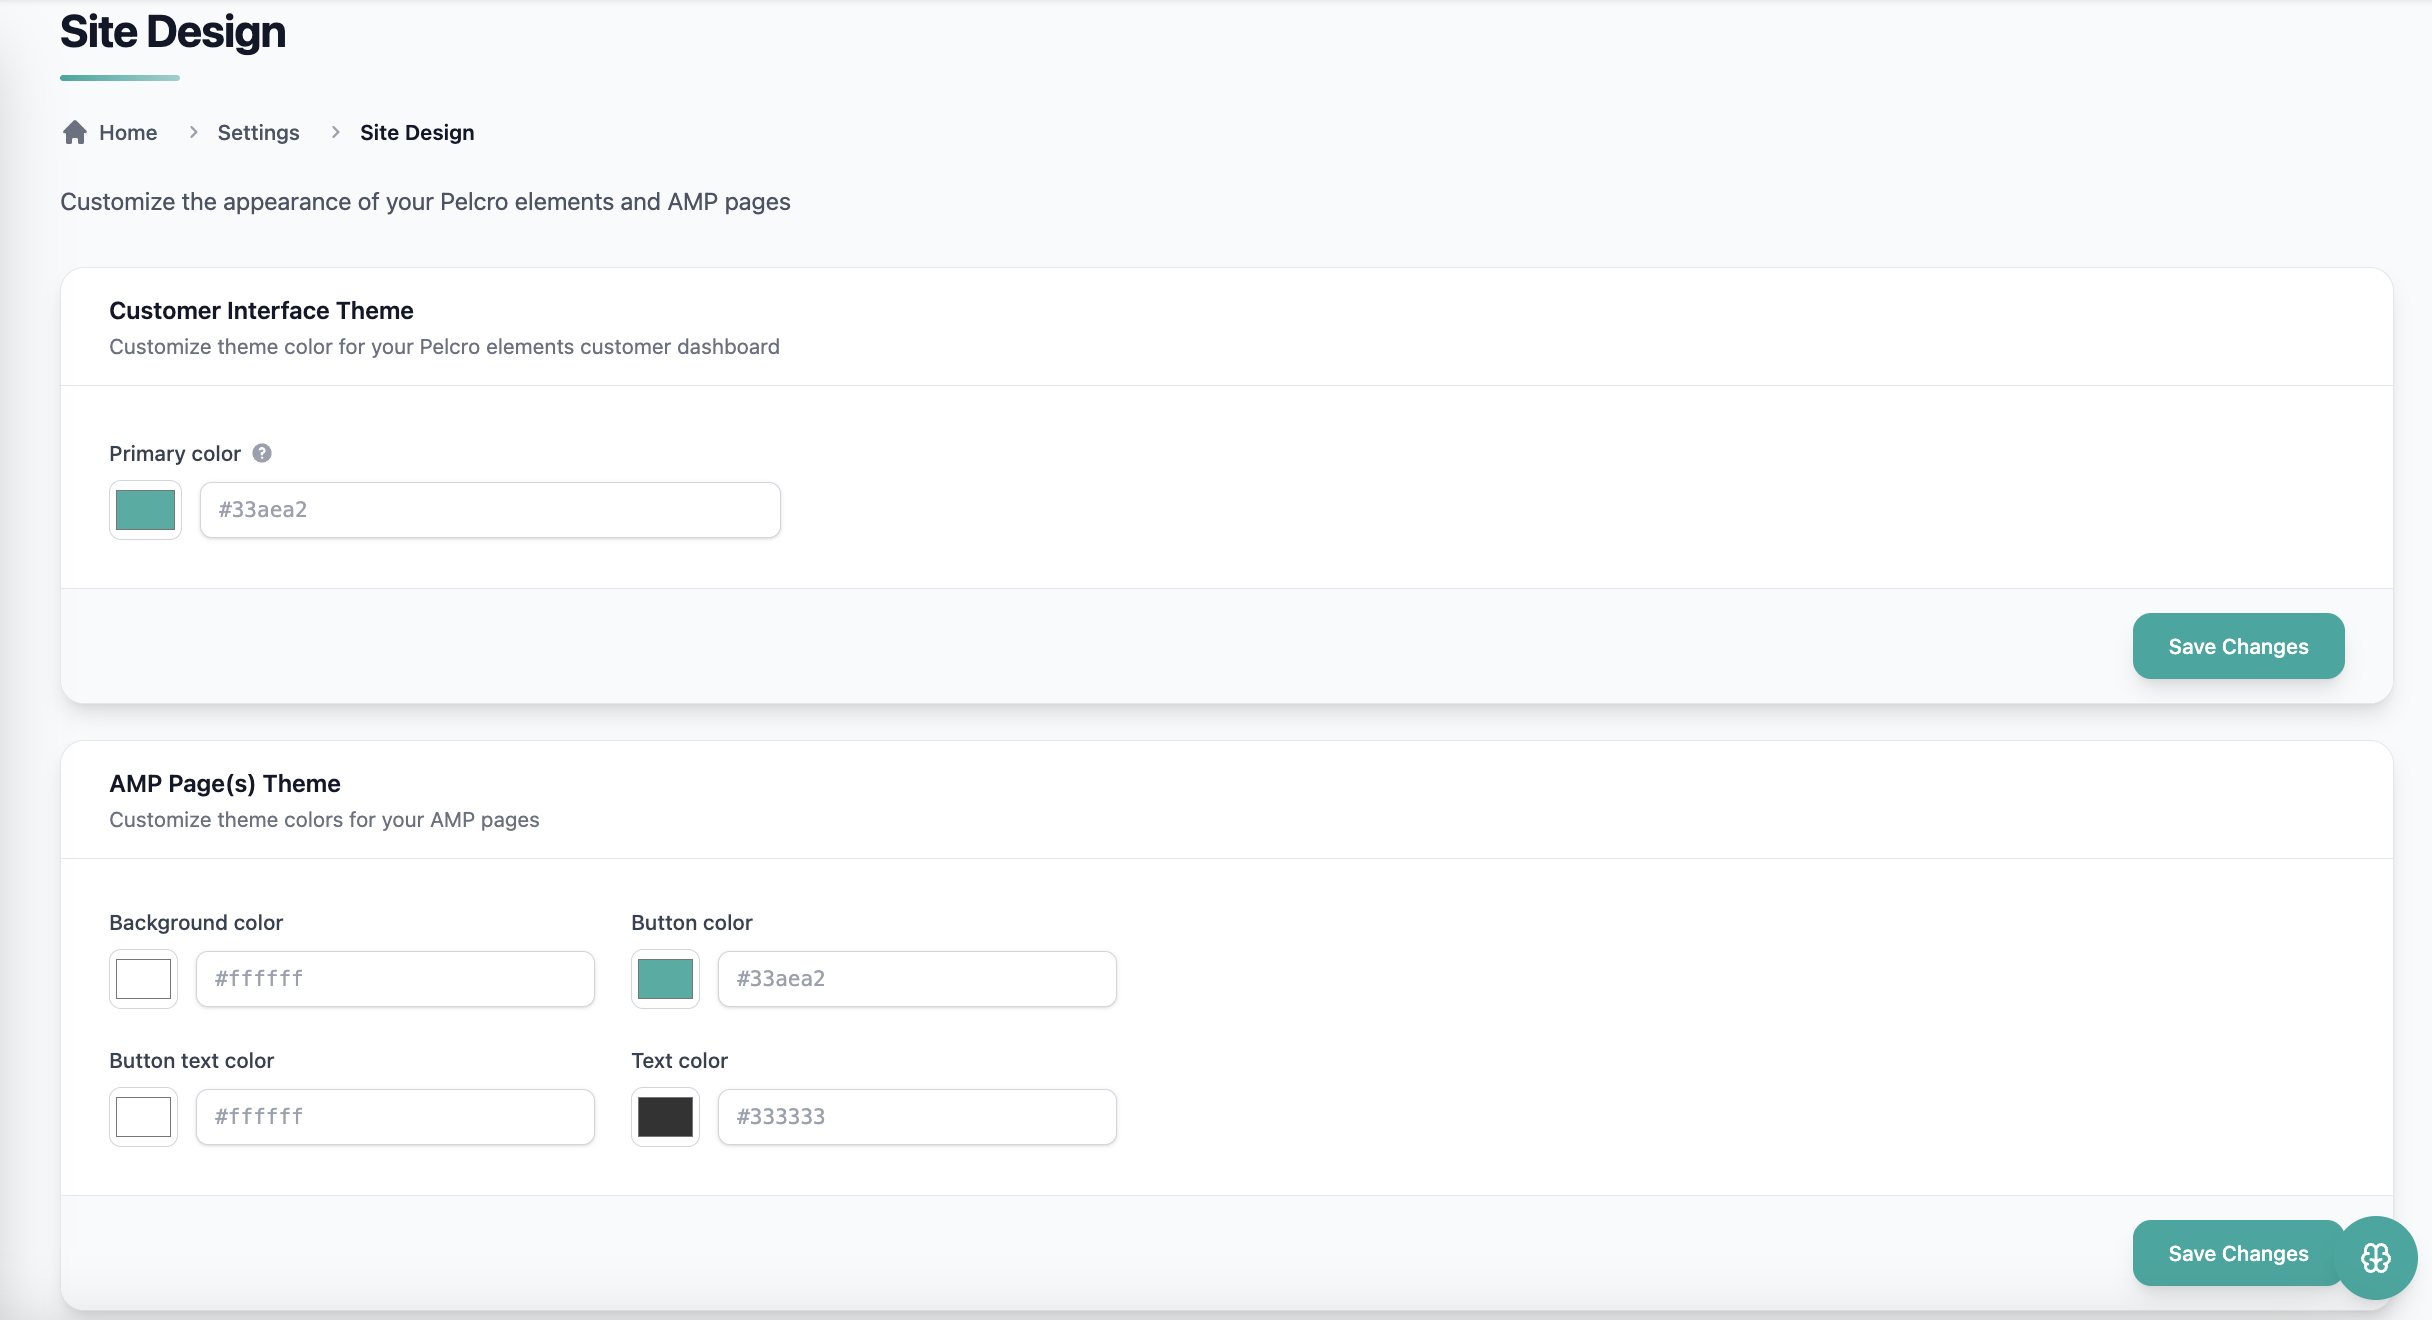
Step 8: Customize the Interface
You can customize Pelcro’s UI to match your brand.
Option A: Platform-Based Design Settings
- Go to Settings → Design
- Configure colors for headers, buttons, and text from below input fields.
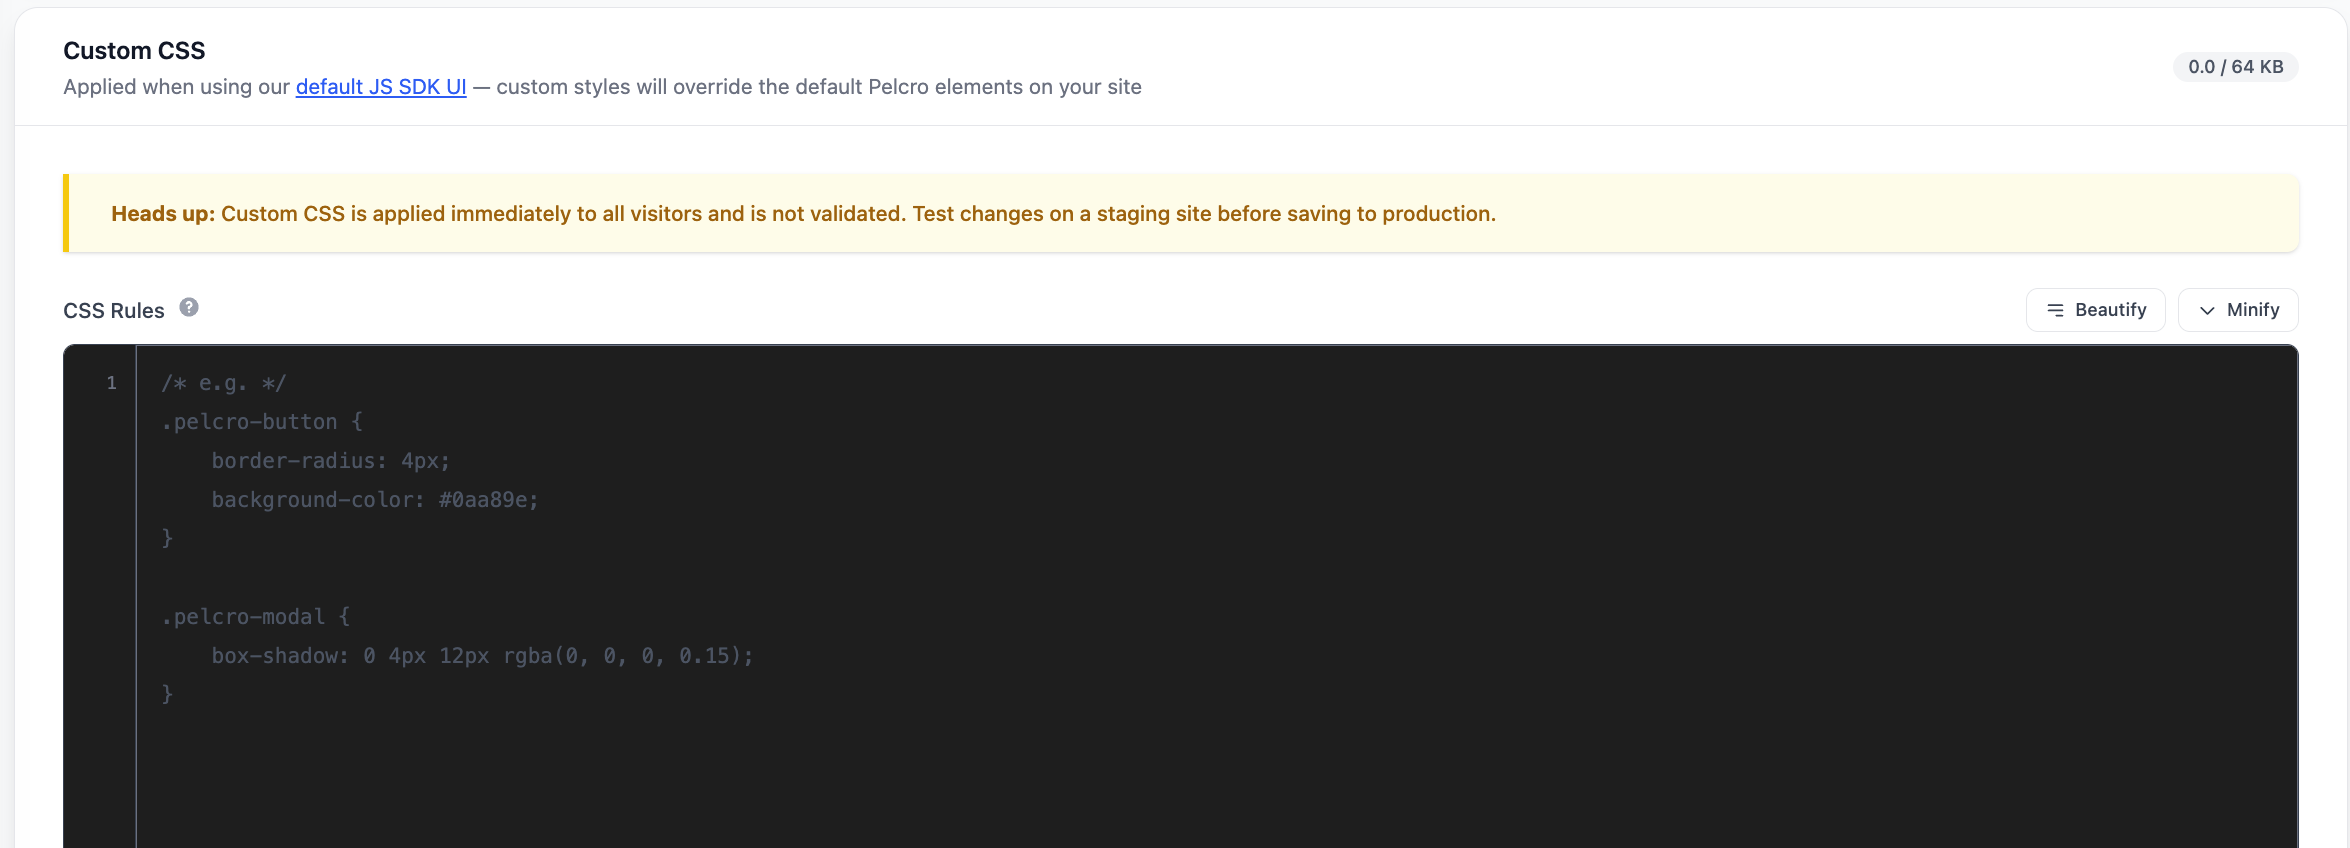
Option B: Custom CSS Overrides
- Override Pelcro’s CSS for full control over fonts, colors, and layout

Next Steps
Once your setup is complete, you can continue by:
- Testing end-to-end user flows in staging
- Preparing your production environment for launch, see here for more details.
Check out these helpful articles for more information on our blog
Updated 2 months ago