

Account vs Site
Overview
This document explains how accounts, sites, and collaborators work in Pelcro. For instructions on configuring your account, see Setting Up Your Account.
What Are Accounts?
An account is a top-level Pelcro entity that you can belong to.
- Your email can be associated with one or more accounts if you are invited as a collaborator on multiple accounts.
- When you log in and your email belongs to multiple accounts, Pelcro prompts you to choose which account to access.
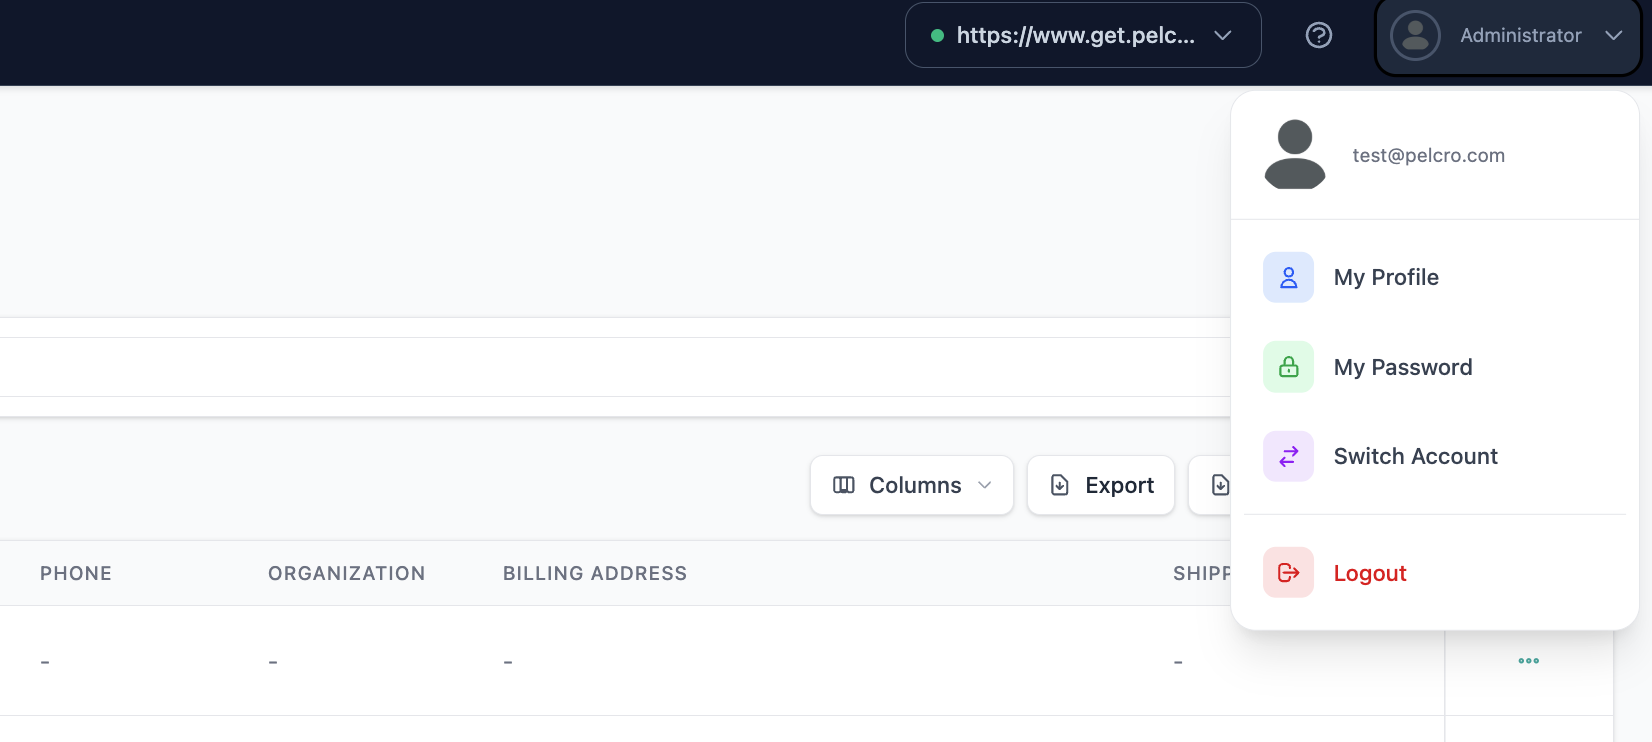
- You can switch between accounts from your profile using Switch accounts.
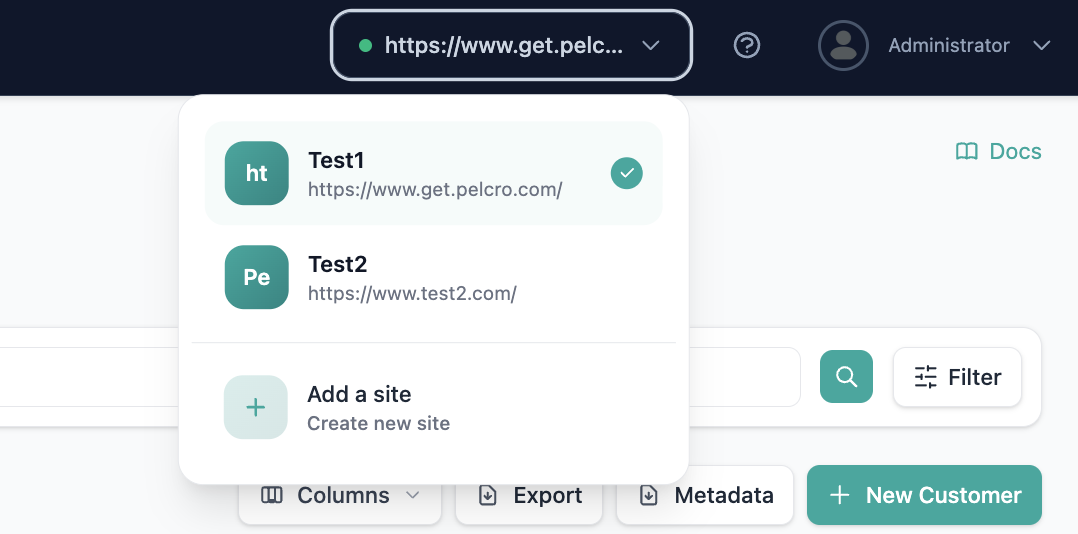
What Are Sites?
A site is a unit within an account.
- Each account can contain multiple sites.
- Sites allow you to manage separate business units or domains under the same account.
Account vs Site Scope
Overview
Some data and settings apply to the entire account, while others apply only to a specific site.
Account-Level Scope
The following are shared across all sites in an account:
- Payment processors (e.g. Stripe): Payment processors are configured at the account level. All sites under the same account use the same payment processor.
- Identity: Customers and subscribers from one site can access all sites under the same account using the same credentials.
- Integrations: Integrations configured in the Integrations page apply to all sites in the account.
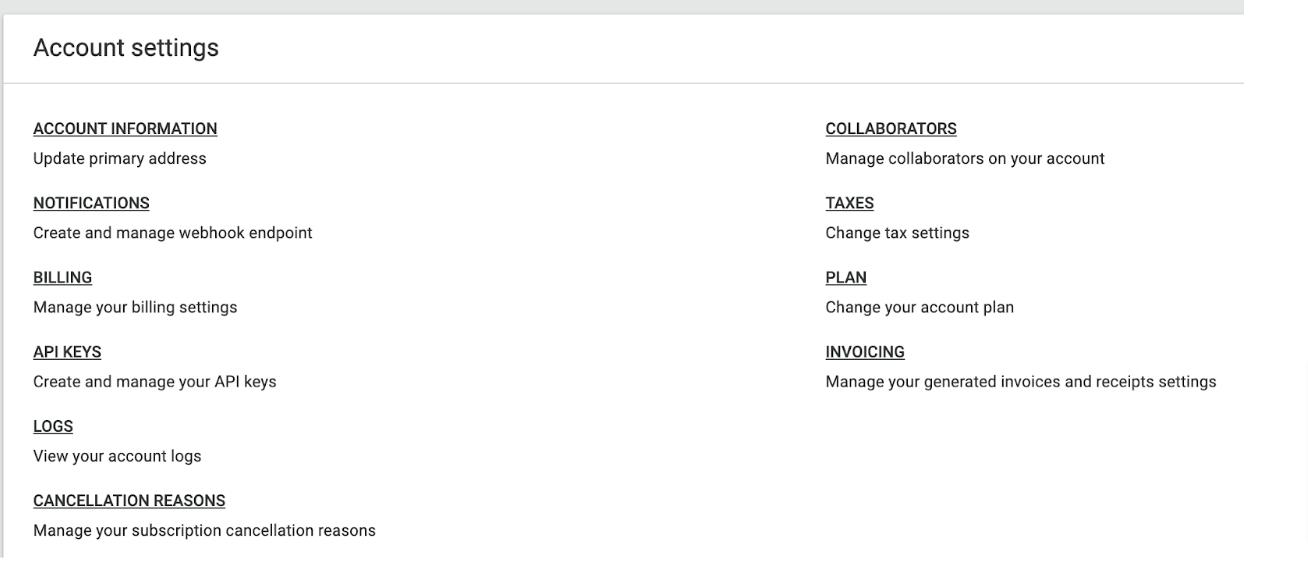
- Account settings: Any configuration under Account Settings applies to all sites within the account.
- Products and e-commerce: Products are configured at the account level and are available across the entire account. A site field allows you to limit which site a product appears on.
- Accounting: Accounting reports are account-based and include data from all sites in the account.
- Tax configuration: Tax settings are configured at the account level and apply to all sites.
- Logs: Logs are accessible from Settings → Logs and apply to the entire account.
- Cancellation reasons: Admins manage subscription cancellation reasons at the account level; these reasons are shown during subscription cancellation flows.
Site-Level Scope
The following apply only to the currently selected site:
- Dashboard: The dashboard for each site summarizes data from that specific site.
- Customers and Billing: Data shown under Customers and Billing is scoped to the current site.
Note: If a customer logs in to another site under the same account, they will also appear under that site. - Reports: Reports in the Analytics section are generated based on the data for the current site.
- Exports: Exported data is generated from the site you are currently viewing.
- Site settings: Any configuration under Site Settings applies only to the current site.
- Import tool: The import tool allows you to import data into a specific site.
📊 Strategy comparison table
| Decision Area | Multiple Accounts (1 domain per account) | Single Account, Multiple Sites |
|---|---|---|
| Legal entity model | Separate entities | Single legal entity |
| Stripe connection | One Stripe account per Pelcro account | One Stripe account shared |
| Bank accounts | Can be different per brand | Shared |
| Accounting / P&L | Separate books | Unified books |
| Login & password | Separate per account | Shared across all sites |
| All-access subscription | ❌ Not supported | ✅ Native |
| Cross-site navigation | Requires re-login | Seamless |
| Password change sync | ❌ No | ✅ Yes |
| Brand-level reporting | Hard (manual consolidation) | Native via site segmentation |
| Subscriber identity | Duplicated across accounts | Single customer record |
| Operational complexity | High | Low |
| Best for | Truly separate companies | Multi-brand publishers |
Multi-Account Access
Overview
This page explains how multi-account access works in Pelcro. It describes what happens when your email is associated with more than one Pelcro account and how you move between them.
What Is Multi-Account Access?
Multi-account access means a single email address is associated with more than one Pelcro account.
This happens when you are invited as a collaborator on multiple accounts.
How Login Works with Multiple Accounts
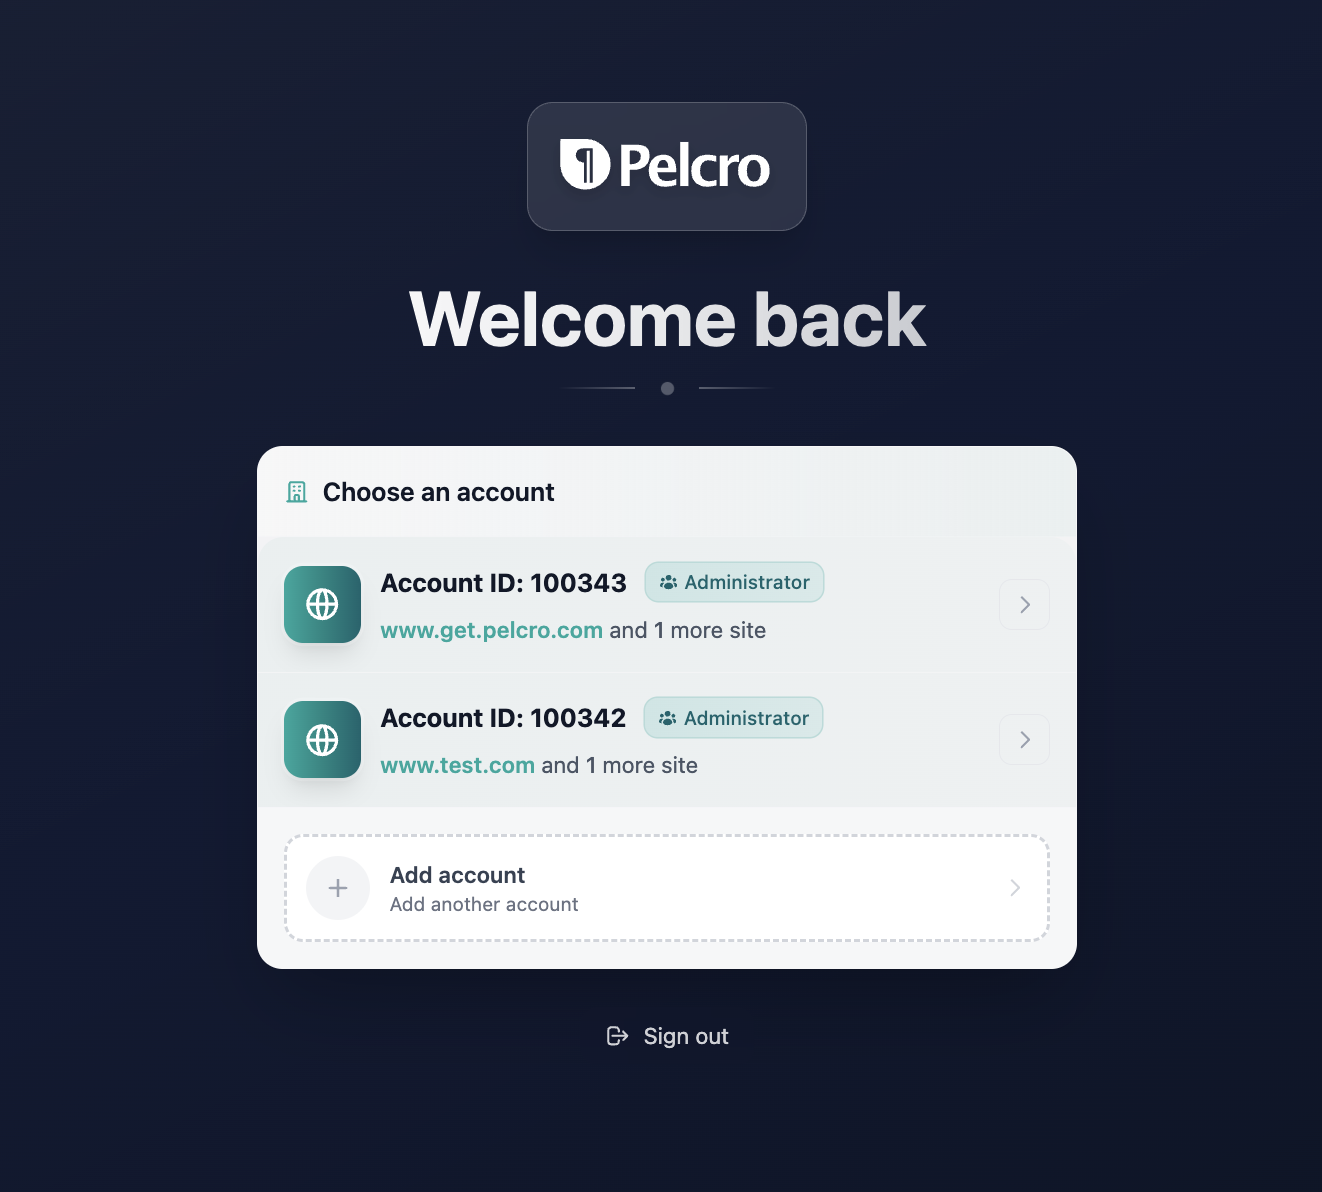
When you log in to Pelcro and your email belongs to more than one account:
- Pelcro displays a screen asking you to choose which account you want to access.
- After selecting an account, you are taken to that account’s dashboard.
Switching Between Accounts
After logging in, you can switch accounts at any time:
- Open the top-right menu under your profile.
- Select Switch accounts.
- Choose the account you want to access.
Manage Collaborators
Overview
This guide shows how to create and view collaborators in your account.
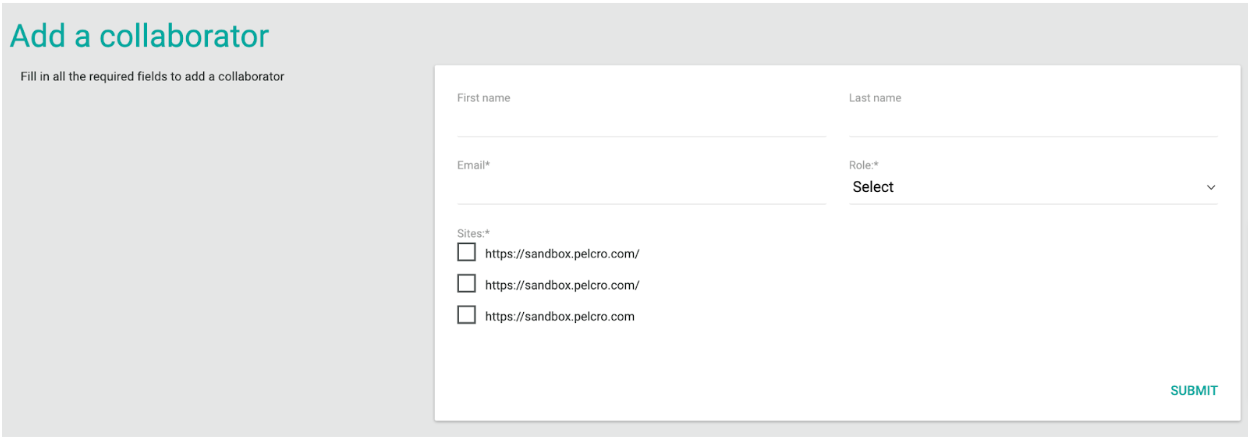
How to Create a Collaborator
- Open the Pelcro dashboard.
- Go to Settings > Collaborators.
- Click Add a Collaborator in the top-right corner.
- Enter the collaborator’s details.
- Select the site(s) the collaborator should have access to.
- Click Submit.
- The collaborator receives an email with a magic link to join.
How to View Collaborators
- Open the top-right menu under your name.
- Navigate to Settings > Collaborators.
- View the list of collaborators, including:
- Name
- Permission level
- Status
Status definitions:
- Active: The collaborator has accepted the invitation.
- Pending: The collaborator has not yet clicked the magic link.
Accounts Reference
Overview
Quick definitions for key account-related terms.
| Term | Definition |
|---|---|
| Account | A top-level Pelcro entity that can contain multiple sites. |
| Site | A unit within an account, with its own data and settings. |
| Collaborator | A user invited to access an account with specific permissions. |
Updated 5 months ago